Moving Object Stop Motion
Contributed by Andy Gaukel
![]()
![]()
![]()
Description
In this playful skill-building activity, students collaborate to create a short animation of an object moving across a surface on its own. This is a great activity for students who are new to animation.
Directions
- Introduction:
- Introduce the project in your own words: “Today we’re working as a team to create a stop-motion animation of an object traveling across the room. Together we will make an object appear to be moving all by itself.”
- Invite students to share existing knowledge regarding stop-motion techniques. To provide instruction in multiple ways, you can invite students to demonstrate their understanding by moving and pausing as if they were frames in a stop-motion animation.
- Use their responses to build an explanation of the process: “Using a camera and an animation application, we will take photos of an object over and over again, each time moving the object a little bit, and then put all of the photos together to create a sequence.”
- Preproduction:
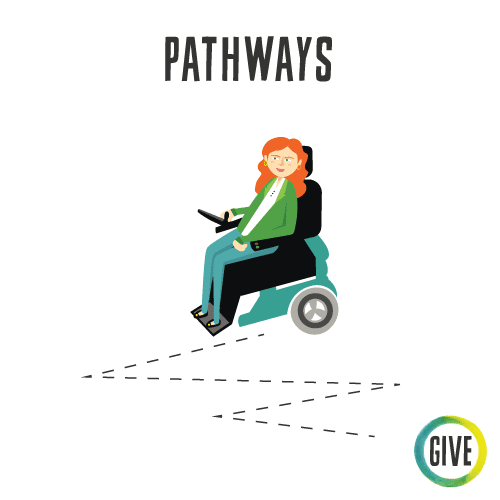
- Invite students to choose an object and plan an interesting pathway for the object as it moves across the space. Demonstrate movements such as diagonal, zigzag, wavy, roller-coaster, etc.
-
- Ask students to designate a starting point and an ending point for the object. A student or two can mark these points with painter’s tape to help the group remember. Ask students to add an obstacle to the path and adjust the pathway the object will travel. Some possible obstacles could include a pile of books, a desk, a Classroom Professional, or a willing student.
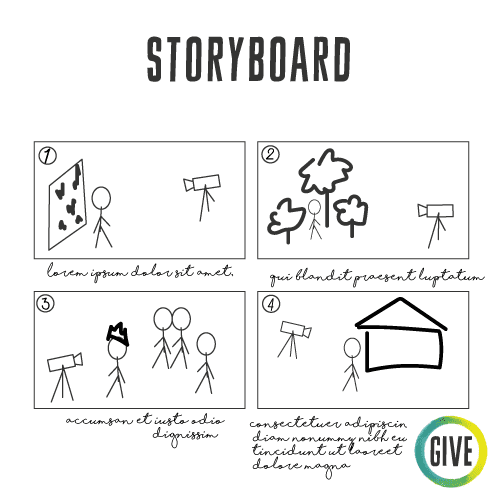
- Demonstrate and chart the route, providing a visual plan. You can introduce storyboarding if time allows.
- Introduce the roles of photographer and puppeteer and explain that everyone can have the opportunity to do both.
- In your own words, explain the importance of keeping the camera stationary: “Some of the magic behind creating stop-motion animations is keeping the camera stationary—in one place with no movement—for the entire animation process. The movement comes from the object.”
- Animating:
- Once you have the camera set up and the space ready, take five photos of the space without the object, then choose your first photographer and puppeteer.
- Each photographer and puppeteer pair will create five photos, the puppeteer incrementally moving the object along the route for each. When they are finished, a new pair of students become the photographer and the puppeteer, continuing until the object reaches its goal. Each pair must work as a team to move the object along its planned route.
- Reflection:
- Share the final animation project with the full class.
- After viewing the final product, reflect on the process: “What worked really well? What could be improved for next time? What did you learn about stop-motion animation?”
Transition into Activity
Share examples of stop-motion animation before the class begins its creation process.
Transition out of Activity
Invite students to move back to their space in a stop-motion manner—small movements, pause, repeat.
Classroom Arrangement
This will depend on a number of variables such as how many students are in your class, the group sizes you’d like to make, and what technology you have available. The animating space could be on a large table or group of desks, the floor, or a long windowsill. Depending on what technology is in the classroom, you could connect the device with the animation application to a screen or board in the class for students to observe the progress as other students animate.
Supports/Adaptive Materials/Tools
- Chart the object’s route on a piece of graph paper, so the students have a visual map of the route.
- Have audience members indicate when the photographer should take a shot by saying “Go” or “Action,” signing, or using cue cards.
- Provide visuals of different ways the object can move (e.g., diagonal, zigzag, wavy, roller-coaster, etc.). Prepare options students can choose from to get them started.
- Provide prepared storyboards with simple routes. Students can level-up as they complete them.
- Consider using job charts and a timer to support pair work.
Possible Roles for Classroom Professionals
- Participate in the animation process as a photographer and puppeteer.
- Promote positive encouragement and reinforcement from the student audience members.
Adjustments for Remote Instruction
![]()
- Students can use objects from their home, and/or objects they create using paper or “found” materials, to create their own characters.
- If available, students can use their phones instead of tablets to take pictures for the animation. To use their phones, they would need to have an animation application on their phone or another device they can connect to.
- Share examples of stop-motion videos and a video how-to to scaffold step-by-step what students will do independently.
- Students can work individually or in small breakout rooms where Classroom Professionals are available to provide support, and you can provide specific instructions for how students can upload these videos so that the whole class can share what they have created.