This document shares strategies about how you can arrange and group students during a class or workshop, as well as how often you should change formations and groupings. Common formations include: circle/semicircle, dispersed, at desks, audience/playing space, small groups, and partners.
দ্রুত টেকওয়েস
চেষ্টা করুন
For students who feel vulnerable in the spotlight, try a low-focus formation like dispersed (e.g., “Pick a spot in the room”) or a circle (e.g., “You can even try facing outward!”).
চেষ্টা করুন
When you want to foster peer-to-peer collaboration and allow everyone to feel seen and heard, try small groups or partners.
চেষ্টা করুন
For residencies, test out a few formations in your early classes—including the placement of the adults in the room—to see how your students respond.
The way in which a space is arranged has a profound impact on how students learn, participate, and engage with material.
Put specific thought and intention into
the way you set up a space;
how often you rearrange the space within a given class.
It is important to switch spatial arrangements throughout the class so that students experience varied and dynamic structures. However, be mindful of how many times you change formations. Each change is a transition, and transitions can be hard. Conversely, while consistently using the same formation can be helpful to establish ritual and routine, overuse of a formation can make it ineffective. This resource will outline some common formations and arrangements, their benefits, and some accompanying tips and considerations.
At the start of a class, single workshop, and/or during early workshops in a residency, consider allowing students to stay where they are when you enter the room, which will likely be where they typically are in the class (e.g., at desks or floor spots). If you are new in the space, this may help pave the way for a smooth introduction to new people and material.
For residencies, consider building in a diagnostic period so you can test out different formations and see what works best for your group and build off of where they thrive.
Consider creating a cue (verbal, musical, etc.) or ritual every time you change formations. This can get students prepared for the change. To learn more about the importance of transitions and transition strategies, see রূপান্তর 101.
Circle/Semi-Circle
Students meet in a circle or semicircle formation either seated or standing.
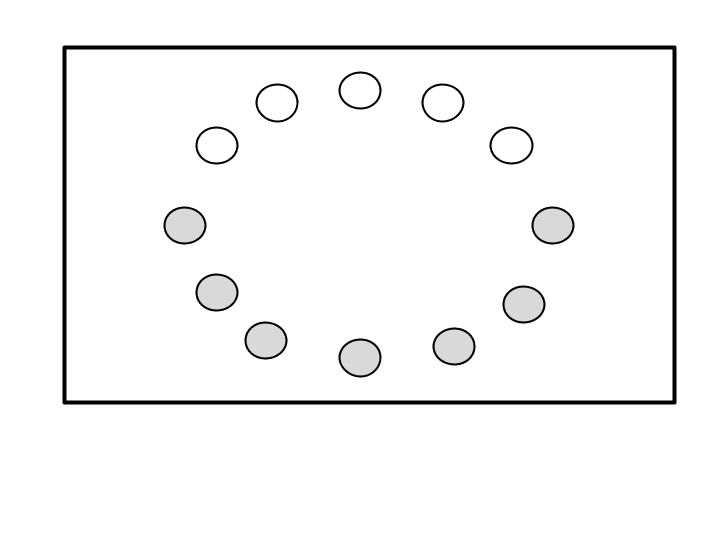
Promotes ensemble and community building.
Encourages eye contact and connection with others in the space.
Allows everyone in the group to see others and be seen.
Focuses the energy within the group.
Circles tend to be fairly low-focus, but also may feel vulnerable and difficult for some students. If students are sharing in a circle, try having students face outside the circle to prepare before turning into the circle. This offers students a private moment to process and practice before sharing with others.
Standing circles promote active energy. Seated circles promote a more grounded, calm energy. They are also a great equalizer when working with wheelchair users.
Be mindful about how long you’re asking students to stand or sit, depending on their energy and/or needs.
If students have pre-existing circle spots or floor spots, use them!
Take time to establish a true circle—avoid blobs or almost-circles. Give students specific prompts to help them form a circle (e.g., “Take two steps back”). Or challenge students to “Make a circle that you care about.”
If your students need a visual cue to help them form a circle, use colored masking tape, poly dots, or other tools. Find more options in our Materials & Tools resource.
Be sure to support the classroom community by welcoming any students who join the group late or are re-entering the circle after spending time away for any reason.
A semicircle works as a variation that gives more focus to the adult or leader.
For more direct focus, TAs and Classroom Professionals can choose to position themselves in one concentrated area of the circle.
For more dispersed support, TAs and Classroom Professionals can incorporate themselves throughout the circle.
For the semicircle variation: To provide spatial boundaries, try having the Classroom Professionals on each end.
Dispersed
Dispersed activities refer to any formation in which students are scattered throughout the space. This can be static (i.e., every student finds their own spot in the space) or active (i.e., students move throughout the space).
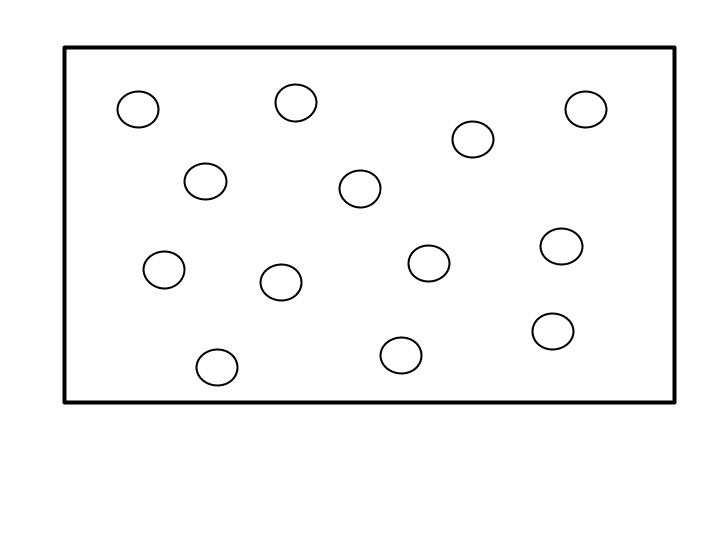
Promotes individual exploration within a group.
Provides a low-focus opportunity for students to participate in an activity.
This can be a great formation for students who have a lot of energy and have a tendency to wander.
In this format, you can also add in a “spotlight on” feature to highlight individuals within the group. This can be used in any formation, but is particularly useful here, where energy can feel diffused.
Try marking specific spots on the floor with colored tape, poly dots, or paper taped to the floor, to give students support for where to be. This can be useful for students who struggle with understanding personal space/bubbles, and for students who need specific boundaries.
This formation can also be used to encourage students to interact with, experience, or respond to material on a gallery wall (e.g., visuals or Post-its).
It can be helpful to have one facilitator leading and the other(s) participating and modeling.
Students with higher support needs may find this format to be challenging, so you may find it helpful to offer one-on-one support to individual students.
At Tables or Desks
Students explore an activity individually, or in small groups from their desk spots (depending on the current setup). Even during collaborative projects, independent work time can be useful.
Provides students with a grounding, familiar “home base.”
Gives students a focused spot with a working surface area.
This can be a great formation for the start of a class and/or a spot to return to if students need to recalibrate or find a safe space.
This formation is particularly helpful in times of reflection, and for writing prompts or activities that involve lots of supplies.
Students can also stand behind their desks if they need a focused “home base” for movement.
Find a balance between giving students space to participate on their own without help, and circulating to offer one-on-one support as needed.
দর্শক/প্লেয়িং স্পেস
This refers to anytime students are seated in one position facing an open area. The open area can either be a playing/sharing space or a means to focus on facilitators who are instructing from the open area. A variation on this formation includes students seated in a semicircle, which merges some of the benefits of a circle formation with an audience/playing space.
Other variations for dance include dance lines facing one direction, or across-the-floor activities.
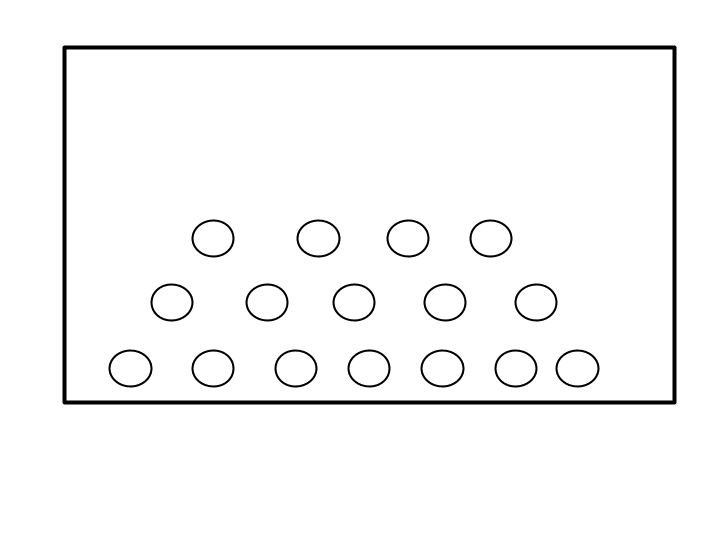
Creates an opportunity for showcasing and sharing work.
Gives students a clear area in space to focus their attention.
You should consistently place the audience and playing space in the same spot each time. Switching up the orientation of where the audience/playing space is can be very confusing.
For a less high-focus showcasing option, split students between both the audience and playing space, and have them share at the same time.
TAs and Classroom Professionals can swap between participating with students—showcasing their creativity, instructing—and being in the audience/providing feedback.
If there is scribing or mirroring involved, try doing this to the side of the “stage” area so that both the audience and performers can see it.
Small Groups
This formation is characterized by dividing small groups of students into different areas of the space. This can be adapted into a station format, where students remain in a small group but rotate throughout the room to interact with different prompts or assignments. This formation is often helpful in times of devising or group-making.
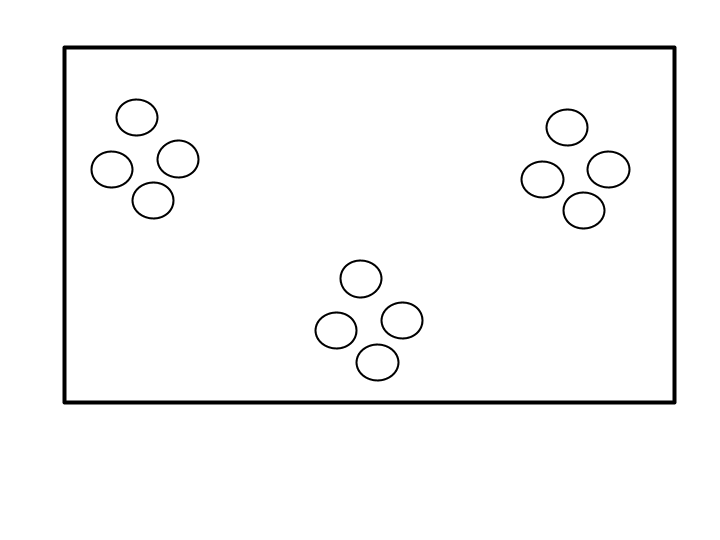
Fosters peer-to-peer collaboration.
Gives students who may get lost in the large group, or who may need more support in individual work, a way to engage with class content in a more focused environment.
Provides students with an opportunity to collaborate on a specific element of a project which can get integrated with work from other groups to create a cohesive piece.
Small-group work is fruitful but can get loud. Be mindful of volume and how this may trigger certain students. Give students a suggested volume to use or use multiple rooms, if possible.
To ensure that students have access to the prompt or assignment, consider giving them a written or visual breakdown of instructions to refer to in their small groups, as well as posting them where everyone can see.
Students often enjoy the task of creating a group name. This gives students ownership over their group and is especially helpful if students are returning to the group again.
If you are expecting students to return to a small group, make sure to document group members and group names.
You can mix up how you create small groups. Options might include
traditional tactics like counting off;
organizing students by pre-existing groups, like desk clusters;
dividing students by commonalities/interests;
playing a game that gets students into small groups.
Small groups provide an opportunity to sort students in several ways:
students with a mix of abilities;
students with similar strengths/growth areas;
students who love working together;
students who might not otherwise work together have the chance to collaborate with others.
Consider giving students the opportunity to answer each other’s questions and work through challenges together before jumping in to help a small group.
For more complicated instructions or for groups who need further support with collaboration, each facilitator could lead a small group.
অংশীদারদের
This formation is characterized by giving students a single partner to work with. This can refer to moments when students have a partner and find their own space in the room, or when students are in two lines facing one another.
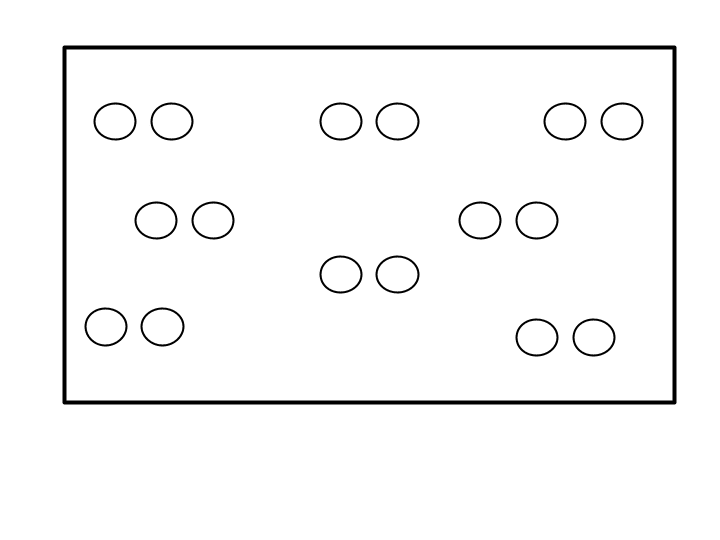
Promotes very focused peer-to-peer interaction.
Gives students who get lost in large groups or need more support a way to engage with class content.
Consider utilizing a “turn and talk” in which partners turn to one another and share ideas together before answering a question or sharing with the whole group. Give them the option to share either their own idea or their partner’s.
Partner work is fruitful but can get loud. Be mindful of volume and how this may trigger certain students. Give students a suggested volume to use or use multiple rooms, if possible.
To encourage community-building, have each pair create a partner’s handshake.
You can switch up how you pair students. Traditional tactics include counting off or partnering students who sit next to each other. Other options include dividing students by commonalities/interests or playing a game that gets them into partnerships.
Partnerships provide an opportunity to group students across abilities, or to group students with similar strengths. This can give students who love working together an opportunity to do so, or allow you to strategically encourage students who might not otherwise work together to collaborate with others. You can challenge students to find a partner they haven’t worked with, allowing them to monitor and regulate themselves.
Find a balance between giving students space to participate on their own without help, and circulating to offer one-on-one support as needed.