معروف آن لائن کلاسز۔
 کوشش کریں
Send multiple reminders to students, Classroom Professionals, and caregivers, when appropriate. You might send one reminder in advance with information about what to expect, as well as another reminder an hour or so before class.
کوشش کریں
Do an Access Check at the beginning of the class to check that volume and visuals work for students, to share ways students can support each other’s access needs (like muting microphones), and to identify how students can ask for support throughout the lesson if their access needs aren’t being met.
In designing the lesson plan for your live class, you may find helpful information in the GIVE Resource for creating asynchronous content. When you’re ready to lead your lesson live online, the resource below will help you support a range of student needs.
Think ENHANCE!
The goal of a live class should center on student engagement. Meet students where they are and focus more on process than product, more on community than content.
Keep in mind restrictions that students may face in their home environments. Remind students to navigate their space safely if the lesson involves movement, and encourage them to use materials they already have on hand.
Try incorporating a fun warm-up at the beginning of class.
- Wacky Jacks: Similar to jumping jacks, but students are invited to move however they want, with or without jumping.
- Spine Stretch: Invite students to fold forward as far as they can go (seated or standing), then roll up in slow motion counting up or down from 10.
- Big Hands/Little Hands: Invite students to follow along as you make big movements with your hands, then small movements. Move to Big Face/Little Face and Big Body/Little Body. You can even combine: Big Body/Big Face, Big Hands/Little Body.
- Camera Play: Have students move toward and away from the camera, in and out of the frame, etc.
- Pass the Stretch: Invite each student to stretch in a way that feels good and then pass the stretch to a classmate by saying that student’s name.
- Lead a creative movement warm-up like this one offered by ArtsConnection Teaching Artist Rebecca Strimaitis: Move and Stretch
Incorporate moments that encourage students’ voices and feedback.
- Invite students to respond to questions or prompts in the chat.
- Invite students to rename themselves on the screen (if possible). Think about asking each student to include the name they would like to be called and their pronouns, as well as one of the following ideas.
- A word for how they feel today or how they want to feel at the end of the session.
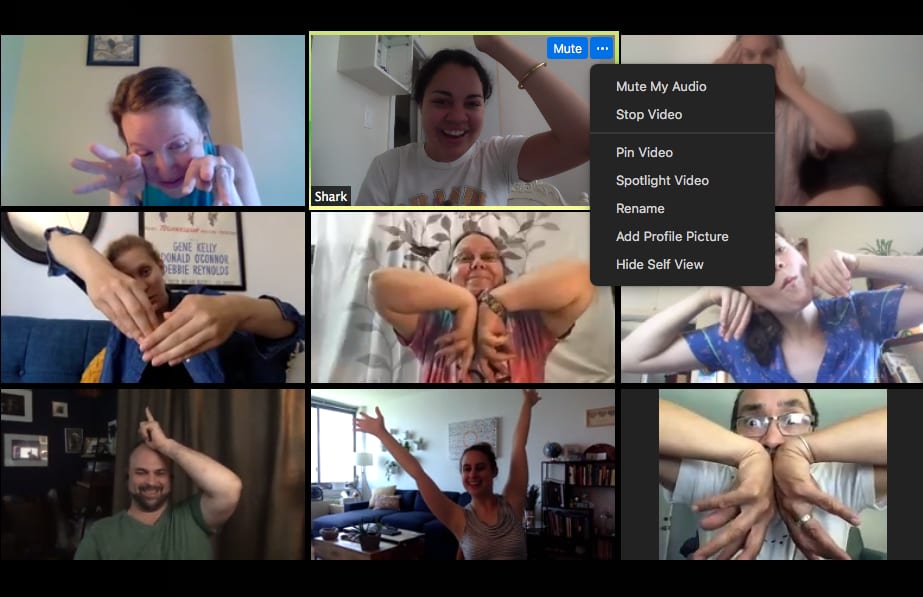
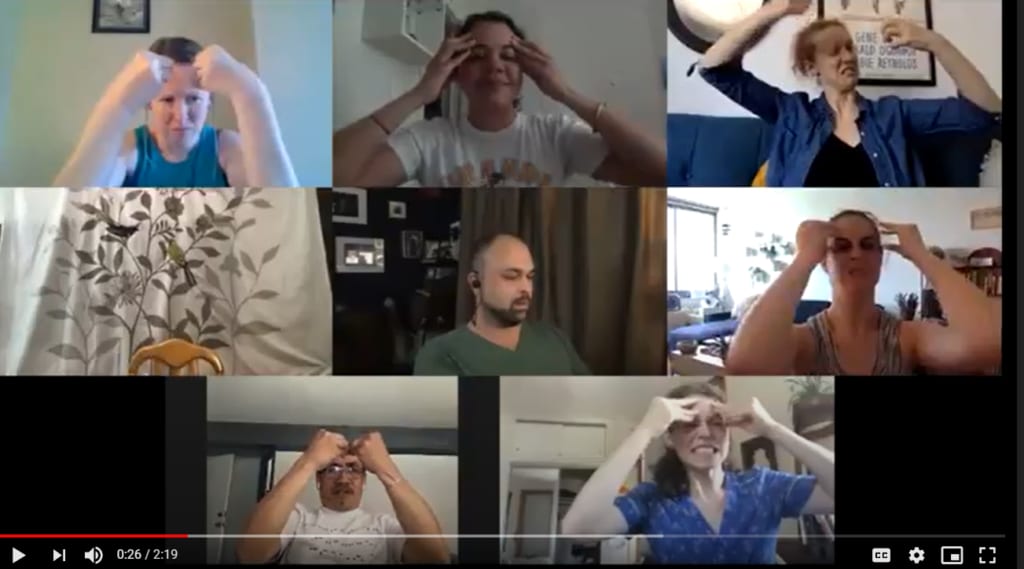
- An adjective or animal that describes how they’re feeling today. You might then have them act out that adjective or animal as part of a warm-up game. Watch this clip for an example of the animal name warm-up.
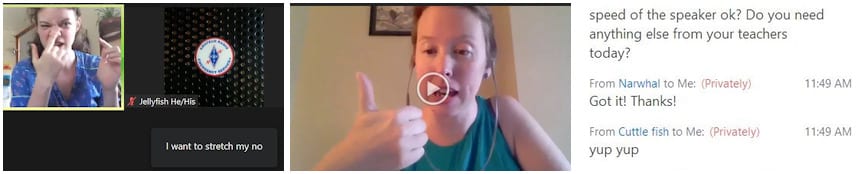
- Invite students to turn on and off their mics/videos at different points throughout the lesson.
- Be sure to provide clear directions on how to do this, or, if possible based on your hosting capabilities, help students who need support using these features.
- Log in early to get set up, test any audio/visual needs, and troubleshoot any technical issues. This is a good time to clean up your desktop and turn off notifications if you’ll be sharing your screen at any point.
- Greet students/staff by name when they log in.
- Have an icebreaker or task for students to do while they are logging on. This could include:
- a question to answer in the chat;
- playing music to set the mood;
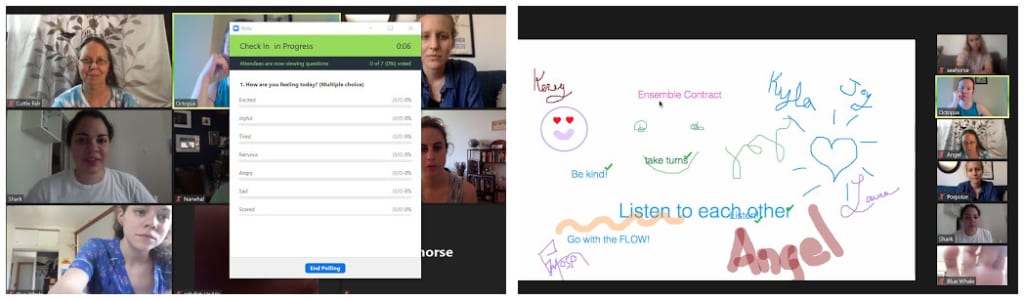
- a poll to complete;
- a shared whiteboard to draw on.
- If you’ve gotten approval from your Classroom Professionals/school, you may want to start recording class at this point. This allows students who are absent to access the lesson, and for other students to re-watch it if repetition is helpful for their learning.
- Use closed captions, translations, or interpreters as needed during the live class. Be sure to include questions about these needs in your ریموٹ لرننگ پلاننگ میٹنگ ایجنڈا.
- Zoom and Google Meet both have an automatic captioning option.
- Do an رسائی چیک۔ at the beginning of the live class and throughout to see if students’ needs are being met in terms of audio, visuals, etc. This may also provide a valuable opportunity for Classroom Professionals to weigh in about any changes you can make to support student engagement. Make sure you do the Access Check verbally and in the chat. Check out this video for an example of an Access Check.
- Use the technology requested by the school, Classroom Professionals, and students for consistency, and to prevent students from having to figure out how to meet their access needs on an additional program.
- More information about Access Checks and creating accessible meetings can be found in the External Resources section.
- Consider asking Classroom Teachers or Paraprofessionals to serve as co-hosts by helping to admit folks from waiting rooms, monitoring the chat and breakout rooms, recording the session, typing captions, and/or helping to solve technical issues so that you can focus on teaching.
- You may also consider nominating students to fill important roles during the session, like leading an opening or closing ritual, leading a breakout room, monitoring the chat, etc.
Check out this video example of how to nominate students to lead.
- Depending on the needs of the students you’re working with, keep sessions between 20 to 60 minutes.
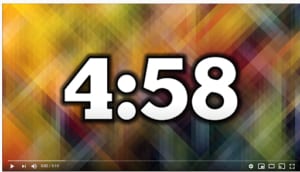
- If your session is longer than 30 minutes, make sure to have at least one break to be off-screen to stretch, go to the bathroom, get some water, or gather materials. To transition in and out of the break successfully, consider
- putting a timer on the screen so students know how long they have left for the break;
- planning an activity to transition back from the break, like the one in this video example.
- putting a timer on the screen so students know how long they have left for the break;
- If your session is longer than 30 minutes, make sure to have at least one break to be off-screen to stretch, go to the bathroom, get some water, or gather materials. To transition in and out of the break successfully, consider
- To help students experience a sense of closure at the end of the lesson and prepare to transition out of the session, it is important to include a closing ritual. Learn more about rituals in the GIVE Resource on recording asynchronous videos.